
Last Update 04/28/2026


This section will explain how to install FINAL FANTASY XIV, as well as how to create your character and begin the game.
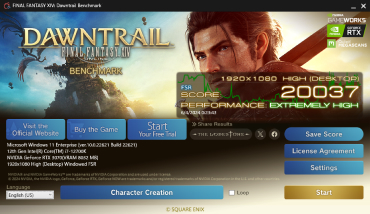

First, we recommend checking to see if you can play the game on your computer. If you plan on playing the Windows® version, we have benchmark software which can help you test your computer's compatibility.
System Requirements
Windows® version │Mac version
Download the Windows® version benchmark software.
After confirming that your computer meets the requirements, please purchase and install the "FINAL FANTASY XIV" game software.
Visit the FINAL FANTASY XIV product site to purchase the game.
If you need to re-install the game, please download the official client software.
Windows® version│Mac version
* The Steam version can be downloaded from your Steam library.


Double-click the "FINAL FANTASY XIV" icon to start the game.
The game launcher will open and will allow you to log in with your Square Enix account.
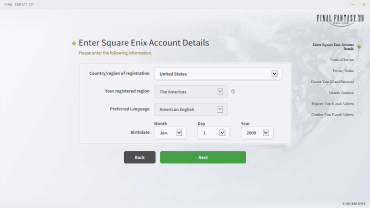

Select "Register for a Square Enix Account" in the launcher and follow the on-screen instructions to create a Square Enix account. Once your account registration is complete, you will be automatically logged in to the game.
For Mac users, select "Register for a Square Enix Account" to create a Square Enix account via your web browser. Once this account has been created, you will need to register for a FINAL FANTASY XIV service account. (https://sqex.to/mog-reg)
What is a Square Enix Account?
A Square Enix account is a free account provided for authentication in a number of Square Enix's online services.
Visit the Square Enix account website for details.
What is a One-Time Password?
By using a One-Time Password in combination with your Square Enix ID and password, you will be able to further enhance the security of your account.
Visit the one-time password website for details.
* From this point on, logging into the game will be done using your Square Enix ID and password.
* Please handle your Square Enix account credentials with care.

Select "I currently possess a Square Enix account" and enter your Square Enix ID and password to proceed to the next step.

Next you will need to enter the "Registration Code" that was included with your game purchase.
Mac users will need to enter the registration code via the Mog Station. (https://sqex.to/mog-login)
What Is a Registration Code?
A registration code is a 20-character alphanumeric code that is required to add the game license to your account.
* Please note that registration codes cannot be reissued in the event that they are lost or stolen.

To start, first check the type of license you wish to register and follow the on-screen instructions to create a new service account.
* If you have already played FINAL FANTASY XIV and would like to start playing on another platform, please see here.

This completes the registration process and you can begin your adventures in Eorzea.
The following guides also contain useful information for starting your adventure.
Job Guide
Learn about the actions and traits of each of the jobs you can play.
User Interface (UI) Guide
Learn about the game's on-screen elements, menus, and settings.
Acquire FINAL FANTASY XIV for your platform of choice.
Visit the FINAL FANTASY XIV product site to purchase the game. Alternatively, you can purchase from PlayStation®Store.
Launch FINAL FANTASY XIV from the home screen.
The game launcher will open and will allow you to log in with your Square Enix account.
Select "Register for a Square Enix Account" in the launcher and follow the on-screen instructions to create a Square Enix account. Once your account registration is complete, you will be automatically logged in to the game.
For Mac users, select "Register for a Square Enix Account" to create a Square Enix account via your web browser. Once this account has been created, you will need to register for a FINAL FANTASY XIV service account. (https://sqex.to/mog-reg)
What is a Square Enix Account?
A Square Enix account is a free account provided for authentication in a number of Square Enix's online services.
Visit the Square Enix account website for details.
What is a One-Time Password?
By using a One-Time Password in combination with your Square Enix ID and password, you will be able to further enhance the security of your account.
Visit the one-time password website for details.
* From this point on, logging into the game will be done using your Square Enix ID and password.
* Please handle your Square Enix account credentials with care.

Select "I currently possess a Square Enix account" and enter your Square Enix ID and password to proceed to the next step.

Link your Square Enix account to your PlayStation™Network account (online ID).
* Once linked, the account cannot be unlinked.
* If your household shares a PS5® or PS4® console, please make sure you confirm that the account that you're attempting to link is your own.
To start, first check the type of license you wish to register and follow the on-screen instructions to create a new service account.
* If you have already played FINAL FANTASY XIV and would like to start playing on another platform, please see here.
This completes the registration process and you can begin your adventures in Eorzea.
The following guides also contain useful information for starting your adventure.
Job Guide
Learn about the actions and traits of each of the jobs you can play.
User Interface (UI) Guide
Learn about the game's on-screen elements, menus, and settings.
Acquire FINAL FANTASY XIV for your platform of choice.
Visit the FINAL FANTASY XIV product site to purchase the game. Alternatively, you can purchase from the Microsoft Store.
Launch FINAL FANTASY XIV from the home screen.
The game launcher will open and will allow you to log in with your Square Enix account.
Select "Register for a Square Enix Account" in the launcher and follow the on-screen instructions to create a Square Enix account. Once your account registration is complete, you will be automatically logged in to the game.
For Mac users, select "Register for a Square Enix Account" to create a Square Enix account via your web browser. Once this account has been created, you will need to register for a FINAL FANTASY XIV service account. (https://sqex.to/mog-reg)
What is a Square Enix Account?
A Square Enix account is a free account provided for authentication in a number of Square Enix's online services.
Visit the Square Enix account website for details.
What is a One-Time Password?
By using a One-Time Password in combination with your Square Enix ID and password, you will be able to further enhance the security of your account.
Visit the one-time password website for details.
* From this point on, logging into the game will be done using your Square Enix ID and password.
* Please handle your Square Enix account credentials with care.
Select "I currently possess a Square Enix account" and enter your Square Enix ID and password to proceed to the next step.

Link your Square Enix account to your Xbox network account.
* Once linked, the account cannot be unlinked.
* If your household shares an Xbox Series X or Xbox Series S console, please make sure you confirm that the account that you're attempting to link is your own.
To start, first check the type of license you wish to register and follow the on-screen instructions to create a new service account.
* If you have already played FINAL FANTASY XIV and would like to start playing on another platform, please see here.
This completes the registration process and you can begin your adventures in Eorzea.
The following guides also contain useful information for starting your adventure.
Job Guide
Learn about the actions and traits of each of the jobs you can play.
User Interface (UI) Guide
Learn about the game's on-screen elements, menus, and settings.
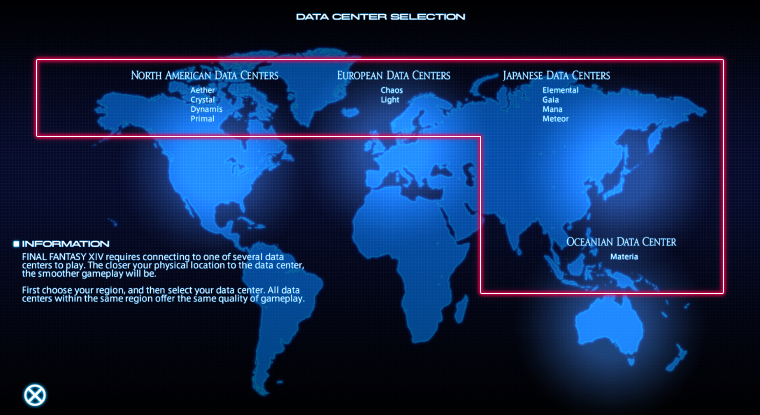
When logging in for the first time, you will be prompted to select a regional data center.
Your choice of data center will determine the Worlds you may choose when creating your character.
Please note that characters are bound to the World on which they are created.
First, select a data center region. It is recommended you choose a data center closer to you to ensure a better gameplay experience.
If you have previously logged in with a character, the data center of the last character played will be denoted with a ★ symbol.
A list of data centers in the selected region will appear in the window, along with the name of the Worlds associated with each data center. Select a data center to join.
If multiple data centers appear for the selected region, you may choose any to play.
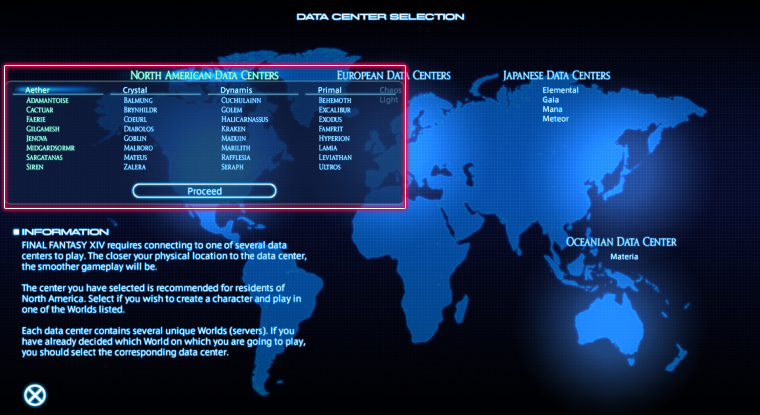
* If you want to create a new character in another data center's World, you can change your data center at any time via the Data Center Selection window at the title screen.
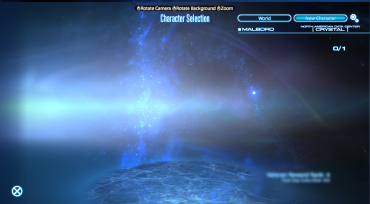
This section will explain how to create your character.
Mouse and Keyboard
Dragging the mouse while holding down the left mouse button will rotate the camera. Dragging the mouse while holding down the right mouse button will rotate your character. You can also zoom in and out with the camera by scrolling the mouse wheel up and down. Holding down the mouse wheel and dragging the mouse will adjust the height of the camera.
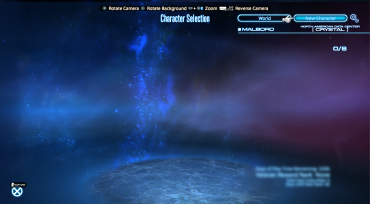
Gamepad
Moving the left or right stick will rotate the camera. You can also zoom in and out by holding down LB and moving the right stick up and down.
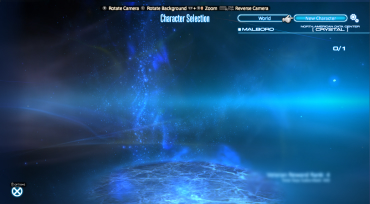
DualSense®; Wireless Controller
Moving the left or right stick will rotate the camera.
You can zoom in and out by holding down L1 and moving the right stick up and down. Holding L1 and moving the left stick up and down will adjust the camera height.
Mouse and Keyboard
Dragging the mouse while holding down the left mouse button will rotate the camera. Dragging the mouse while holding down the right mouse button will rotate your character.
You can also zoom in and out with the camera by scrolling the mouse wheel up and down. Holding down the mouse wheel and dragging the mouse will adjust the height of the camera.
Controller
Moving the left or right stick will rotate the camera.
You can zoom in and out by holding down LB and moving
the right stick up and down. Holding LB and moving the left
stick up and down will adjust the camera height.
Mouse and Keyboard
Dragging the mouse while holding down the left mouse button will rotate the camera. Dragging the mouse while holding down the right mouse button will rotate your character.
You can also zoom in and out with the camera by scrolling the mouse wheel up and down. Holding down the mouse wheel and dragging the mouse will adjust the height of the camera.
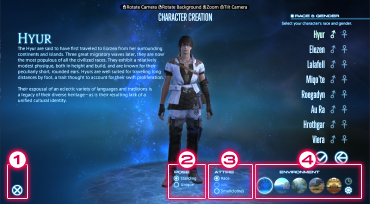

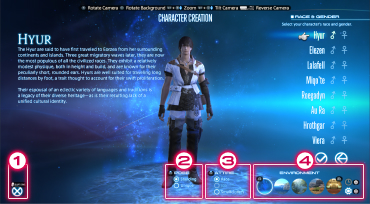

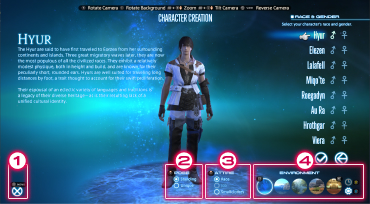
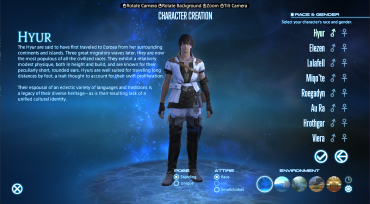
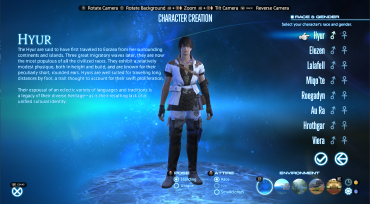
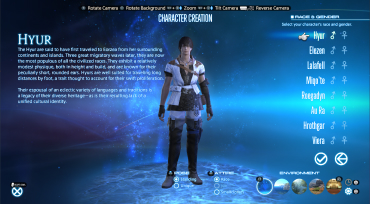
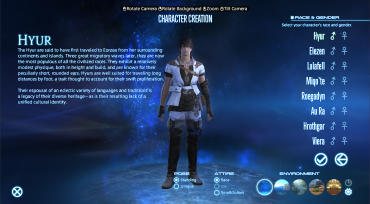
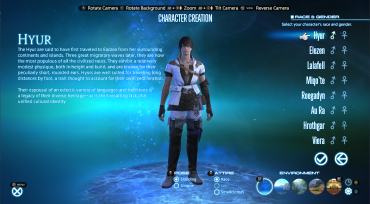
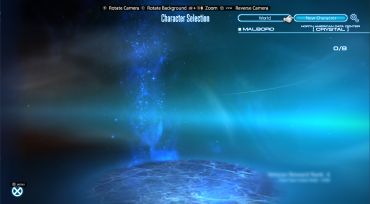
1. Return to the character selection screen. Current character progress will be lost.
2. Toggle between standing and unique character poses.
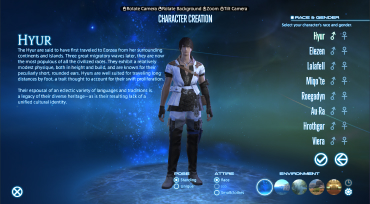
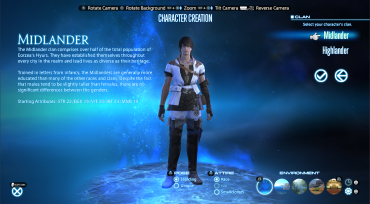
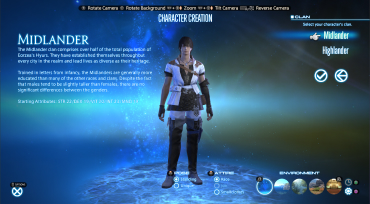
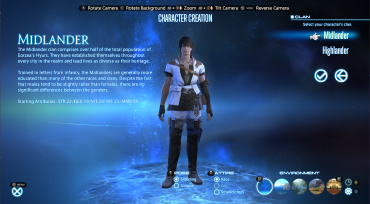
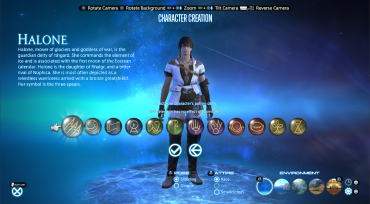
3. Change character gear.
Race: Displays default race gear.
Job: Displays job-specific gear. (Available only after selecting a class)
Smallclothes: Displays undergarments. (i.e., no gear equipped)
4. Change background image.
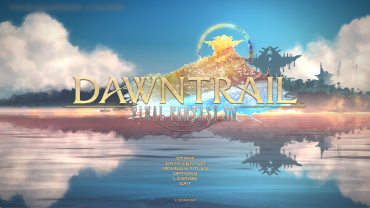
After logging into the game, press START.
* The title screen will change according to the entitlement status of your account.

Select New Character on the Character Selection screen.
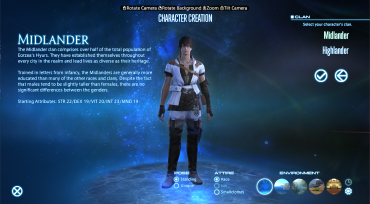
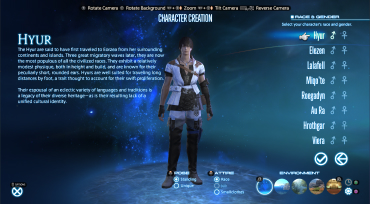
Select a race, clan, and gender.
* Starting STR, DEX, VIT, INT, and MND attributes will differ depending on your race and clan. However, gender has no effect on starting attributes.

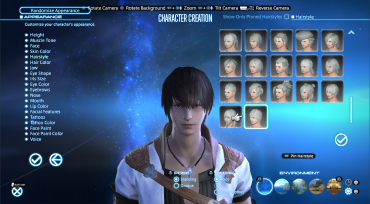
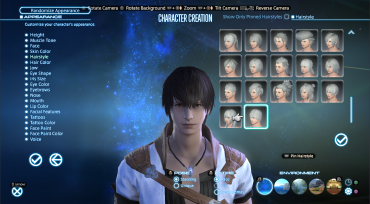
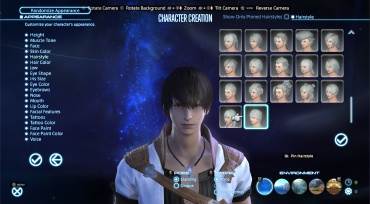
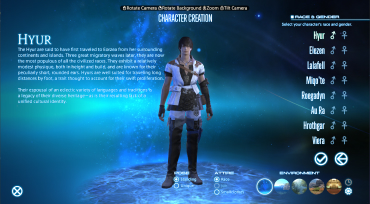
Customize your character's appearance.
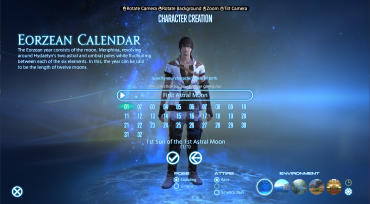
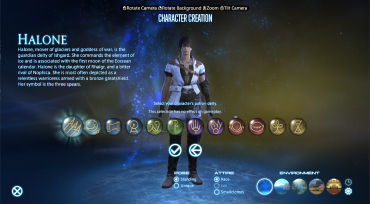
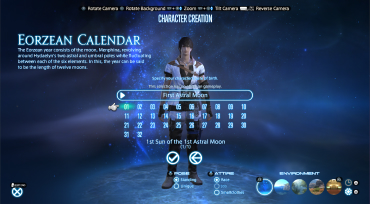
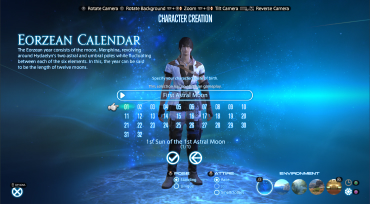
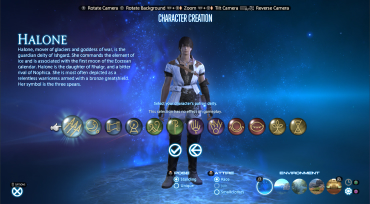
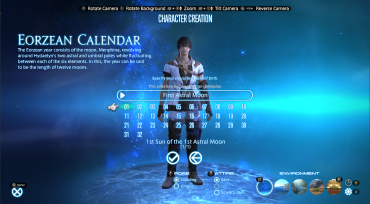

Select your character's birthday and patron deity.
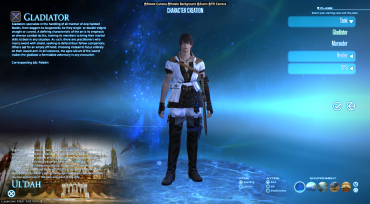
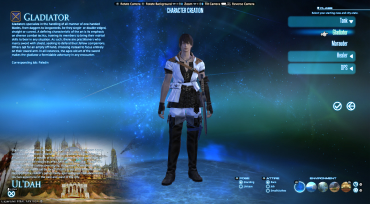
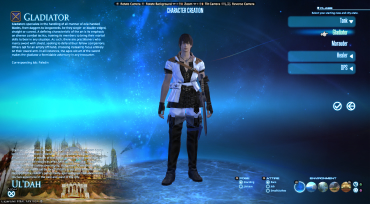
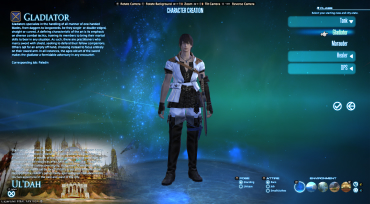
Select your character's starting class and city-state.
About Classes
In FINAL FANTASY XIV, a character's class is determined by the weapon or tool they have equipped.
* Furthermore, a character's class will determine the role they play within a party, as well as their starting city, as no starting city houses all class guilds. Learn more about roles.
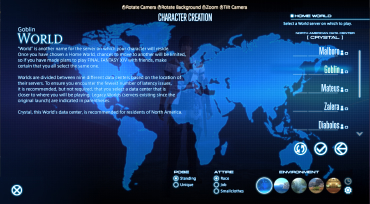

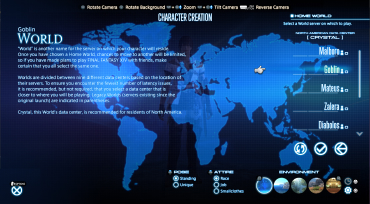


Select a Home World for your character.
About Home Worlds
The Home World selected when creating a new character cannot be changed easily, so please choose carefully.
* Please take care when selecting a data center and Home World if you intend to play with friends.
Confirming Your Home World
Your character's Home World is displayed on the character selection screen and during gameplay, under Server Info in the top right of the screen.
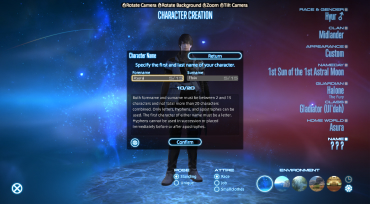
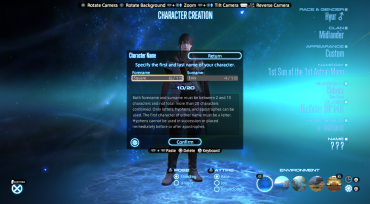
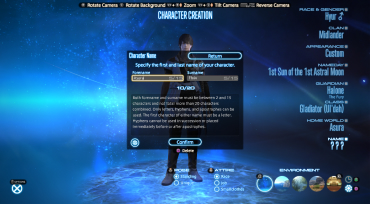
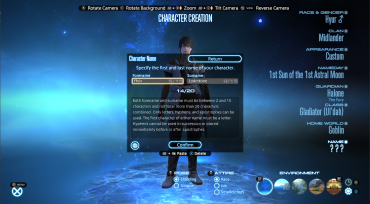
Enter a forename and surname for your character, and click Confirm.
Forenames and surnames are restricted to 15 characters or less, with a combined limit of 20 characters.
* No two players on the same World may have the same forename and surname.
* Players who cannot decide on a name may choose to have a name randomly generated based on their clan and gender.
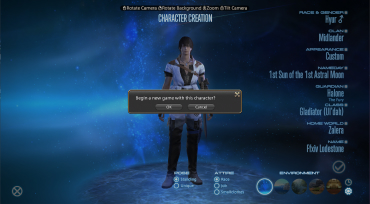
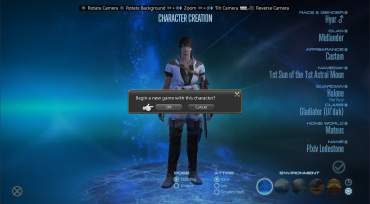
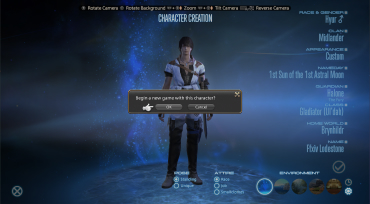
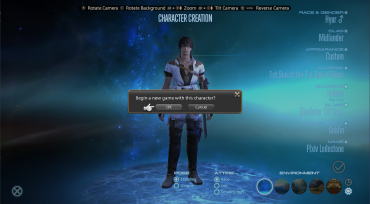
If you are satisfied with the character you have created, press OK to begin adventuring in the game.
"World" is another name for a server on which characters reside.
Worlds are divided into data centers based on the location of their servers. To ensure you encounter the fewest number of latency issues, it is recommended, but not required, that you select a data center that is closer to where you will be playing. Legacy Worlds (servers existing since the original launch) are indicated in parentheses.
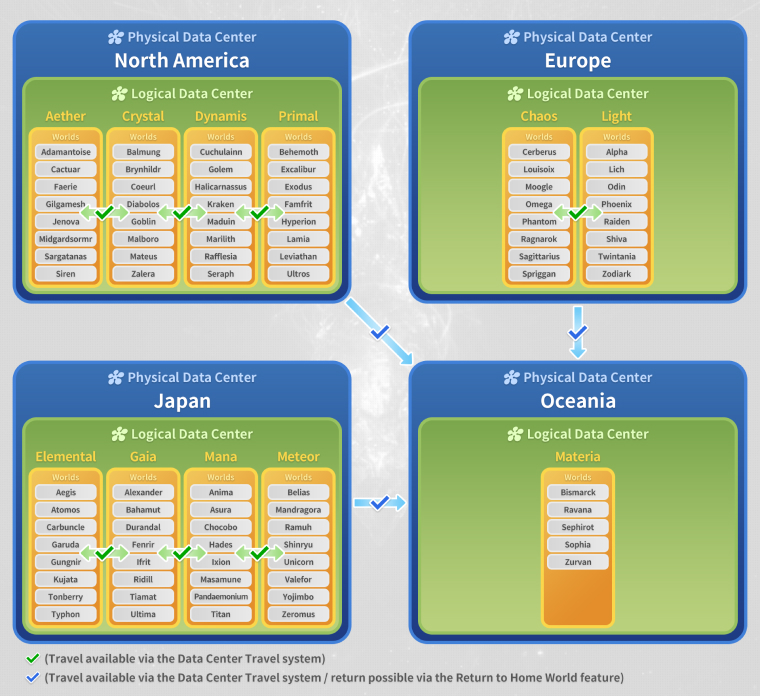
Each World contains the same enemies, items, and story, but you will only be able to interact with players on Worlds on the same physical data center. It is much easier to play alongside friends if you share the same Home World, so please bear this in mind when creating your character. Players who share a Home World will be able to play together regardless of the platform on which they are running the game.
Players who reside on different Home Worlds may still play together using the World Visit (*1) system or the Data Center Travel (*2) system.
*1 The World Visit system allows you to temporarily visit other Worlds in the same logical data center.
*2 The Data Center Travel system allows you to temporarily visit Worlds outside of your logical data center while remaining within your physical data center.
For more information on these systems and their restrictions, please refer to the FINAL FANTASY XIV Travel Guide.
The Lodestone and Mog Station
Only the name of your Home World will be displayed on the Lodestone and the Mog Station. Use of the World Visit System will not affect the display of your Home World.
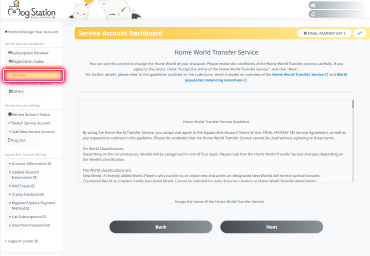
Players may use an optional Home World Transfer Service to change Worlds. Please note this will incur a fee.
To make use of this service, please proceed to the FINAL FANTASY XIV: Mog Station.
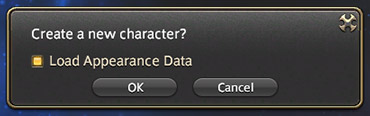
Players can save the appearance of their characters and reuse them when creating additional characters.
Any pre-existing characters from Version 1.0 will be present on the character selection screen.
* The names of characters transferred from Version 1.0 will remain unchanged regardless of length.


