The user interface, or UI for short, refers to the various on-screen elements and menus through which a player interacts with the game. The UI in FFXIV can be adjusted in myriad ways to ensure an enjoyable gaming experience.
This guide will explain how to adjust the UI, and offer tips to help you navigate the game.
Use the default settings…
Or try something creative!
The possibilities are endless!
Use the default settings…
Or try something creative!
The possibilities are endless!

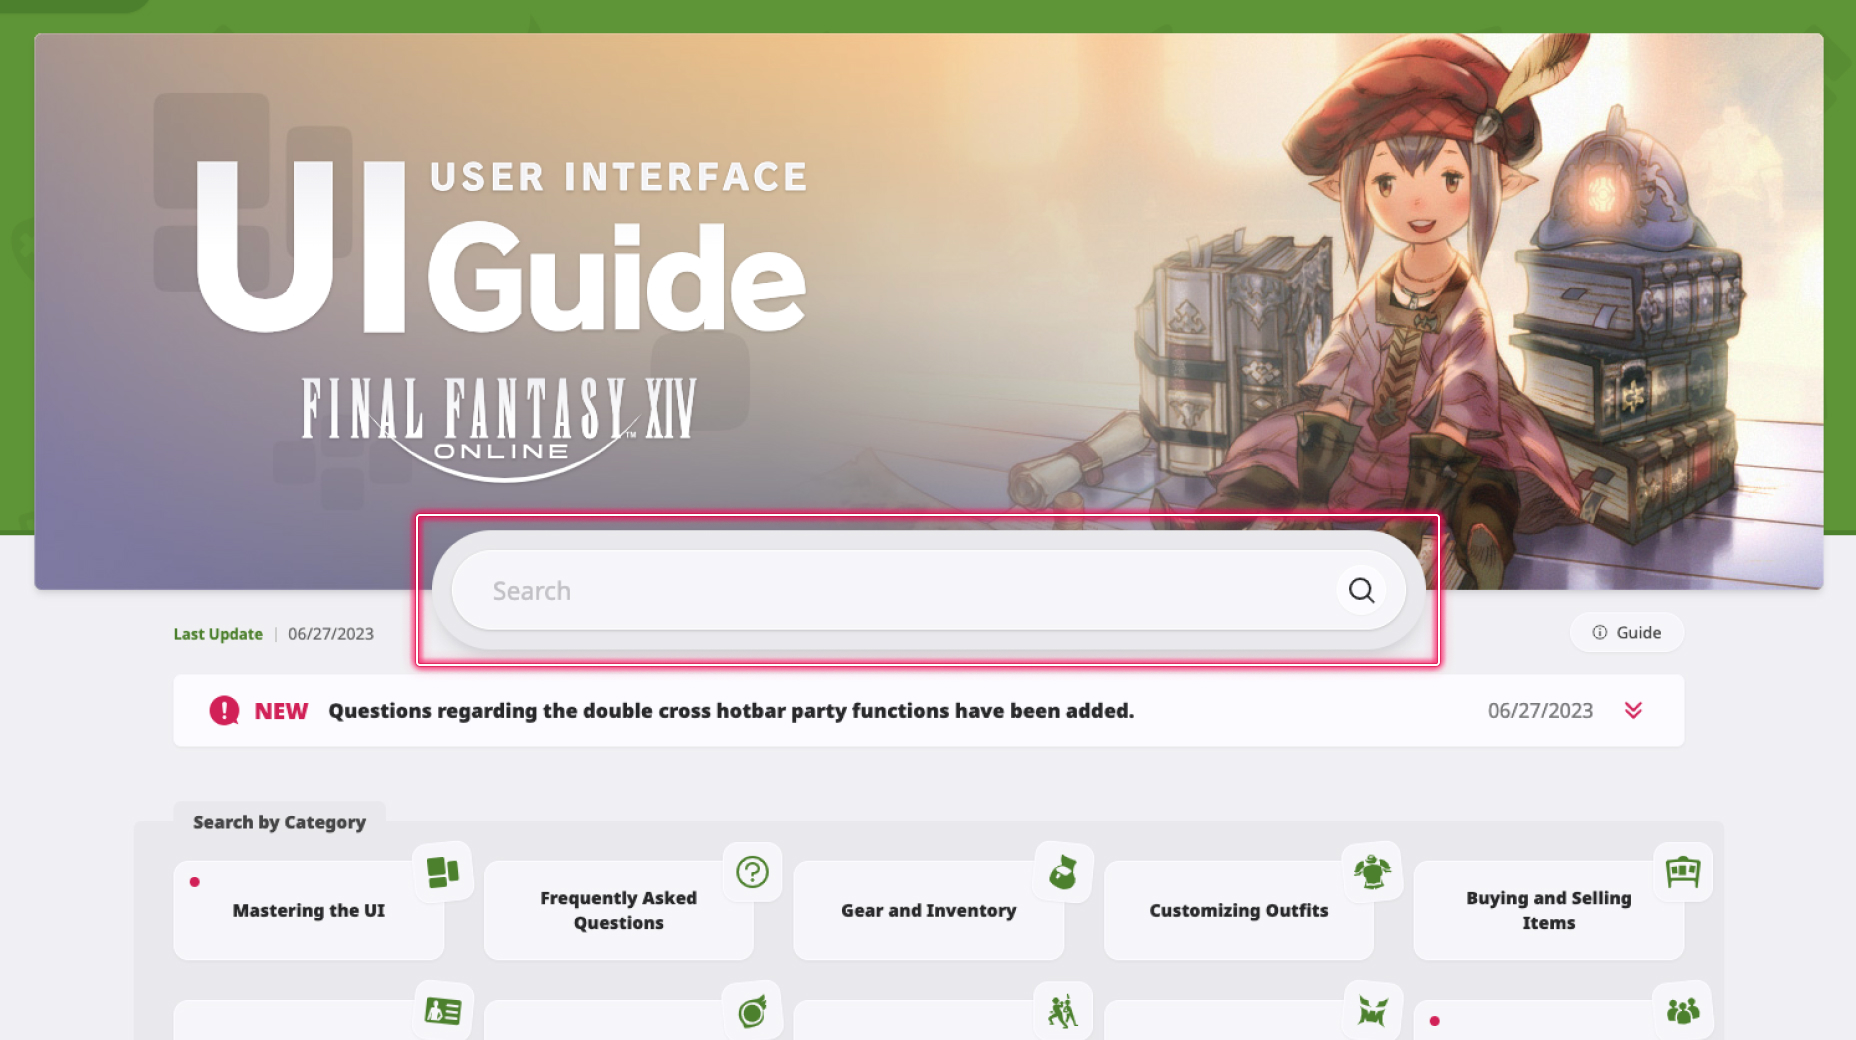
1. Enter a term to search.
2. Find a topic and review its contents.
3. Try out what you've learned!
1. Enter a term to search.

2. Find a topic and review its contents.
3. Try out what you've learned!
(You can view this screen at any time from the guide icon.)
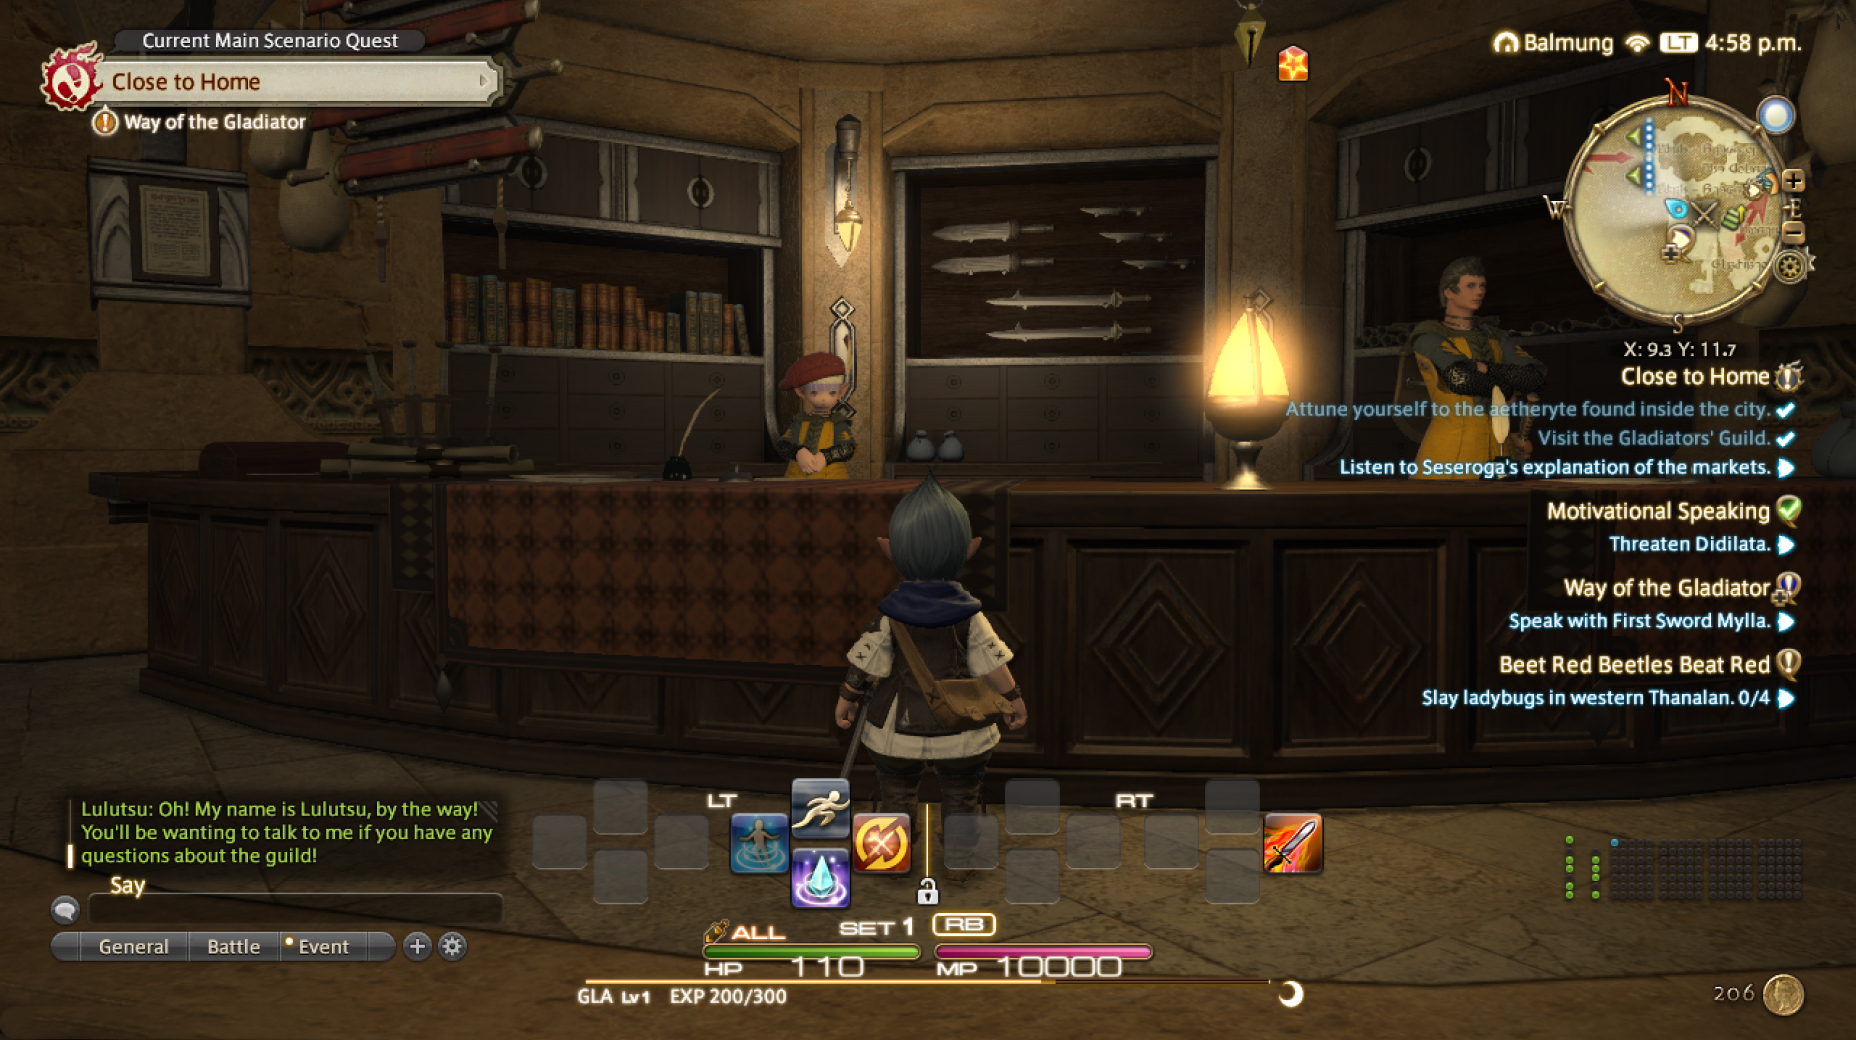
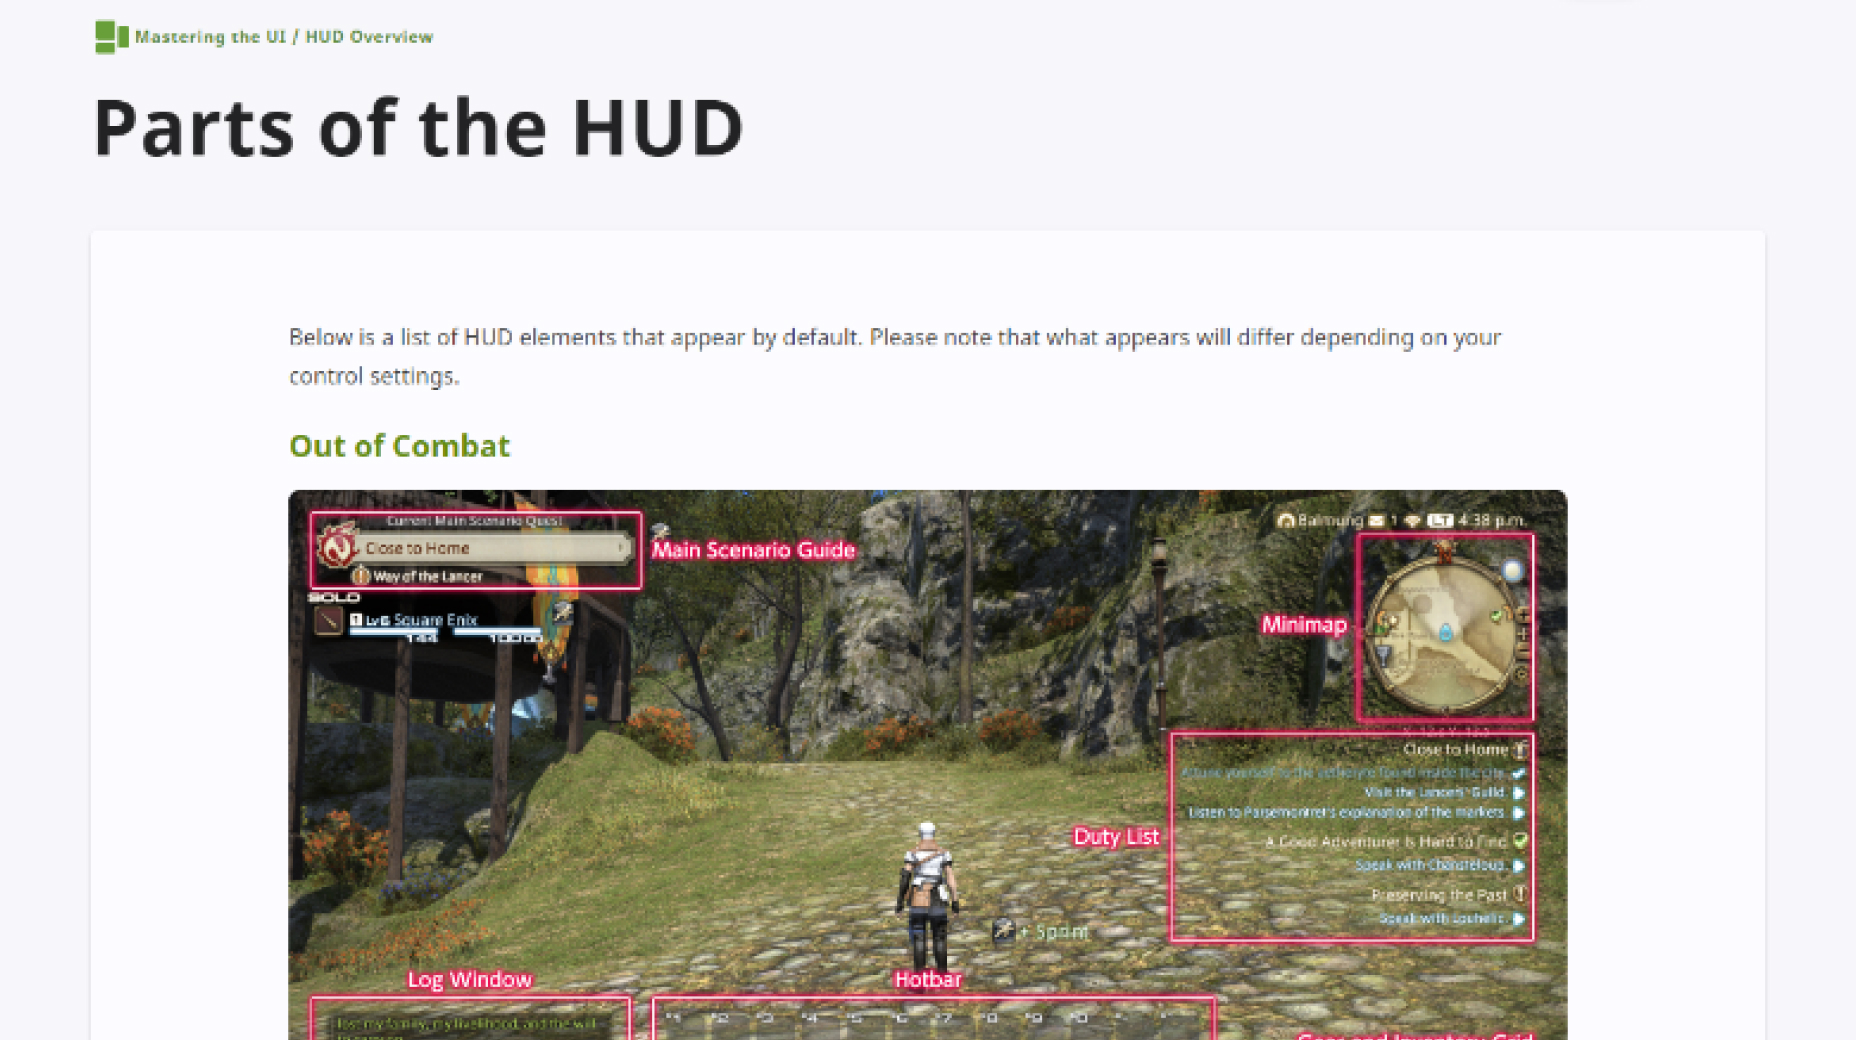
Mastering the UI / HUD Overview
There are many options for customizing one's HUD layout, but everything starts with two key points: size and positioning of UI elements, which will be explained below.

The screen will change to HUD Layout mode, wherein you can customize nearly every UI element.

Choose from one of the UI element categories (Basic, System, Hotbars, and Duty), then select the UI element you wish to customize from the pulldown menu. Your selection will be outlined in gold.
Positioning
Use your mouse to drag the selected element to your desired position.
Toggle Display
Select the cog icon next to the pulldown menu to open the UI Element Settings menu. From there, uncheck the box labeled Display Element. The label of hidden UI elements will turn purple.
This feature can also be accessed by right-clicking any HUD element.

Size
There are two methods for changing the size of UI elements.
1. Select the cog icon next to the pulldown menu to open the UI Element Settings menu. Here you can change the size of your selected UI element. In the case of hotbars, you can also change their orientation.
2. After making a selection from the Current UI Element pulldown menu, press Ctrl+Home to toggle through all available sizes.
Transparency Settings
You can adjust the transparency of most HUD elements.

Copy Layouts
Select the cog icon next to the numbered tabs to open the HUD Layout Settings menu. Here you can choose a layout from one of the four base slots to be copied to a new slot.

When you have customized UI elements to your satisfaction, select Save and close the HUD Layout window.

The screen will change to HUD Layout mode, wherein you can customize nearly every UI element.
Positioning
Use the right stick to move the selected element to your desired position.
Toggle Display
Select the cog icon next to the pulldown menu to open the UI Element Settings menu. From there, uncheck the box labeled Display Element. The label of hidden UI elements will turn purple.
Size
There are two methods for changing the size of UI elements.
1. Select the cog icon next to the pulldown menu to open the UI Element Settings menu. Here you can change the size of your selected UI element. In the case of hotbars, you can also change their orientation.
2. After making a selection from the Current UI Element pulldown menu, use Right Thumb-click (R3 on PS5®/PS4®, Right Thumb-click on Xbox Series X|S) to toggle through all available sizes.
Transparency Settings
You can adjust the transparency of most HUD elements.
Copy Layouts

When you have customized UI elements to your satisfaction, select Save and close the HUD Layout window.
→Learn more about the HUD.