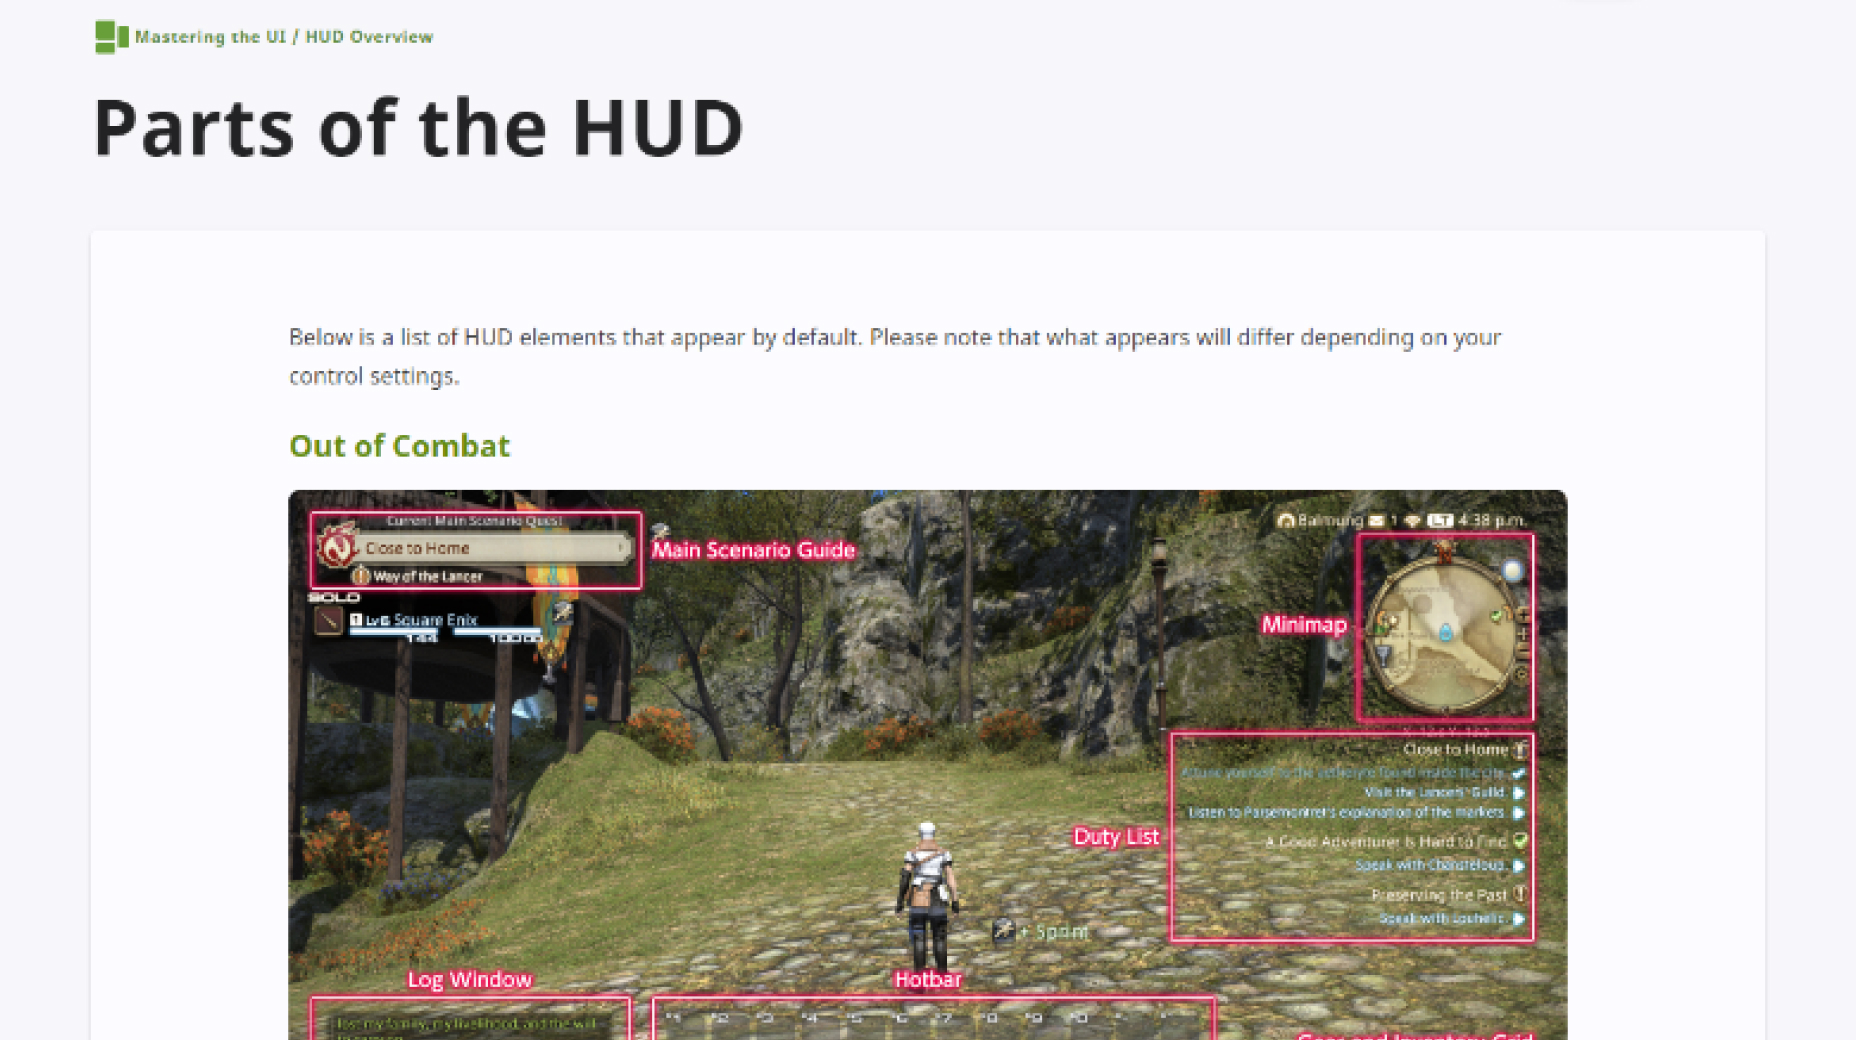
The user interface, or UI for short, refers to the various on-screen elements and menus through which a player interacts with the game. The UI in FFXIV can be adjusted in myriad ways to ensure an enjoyable gaming experience.
This guide will explain how to adjust the UI, and offer tips to help you navigate the game.
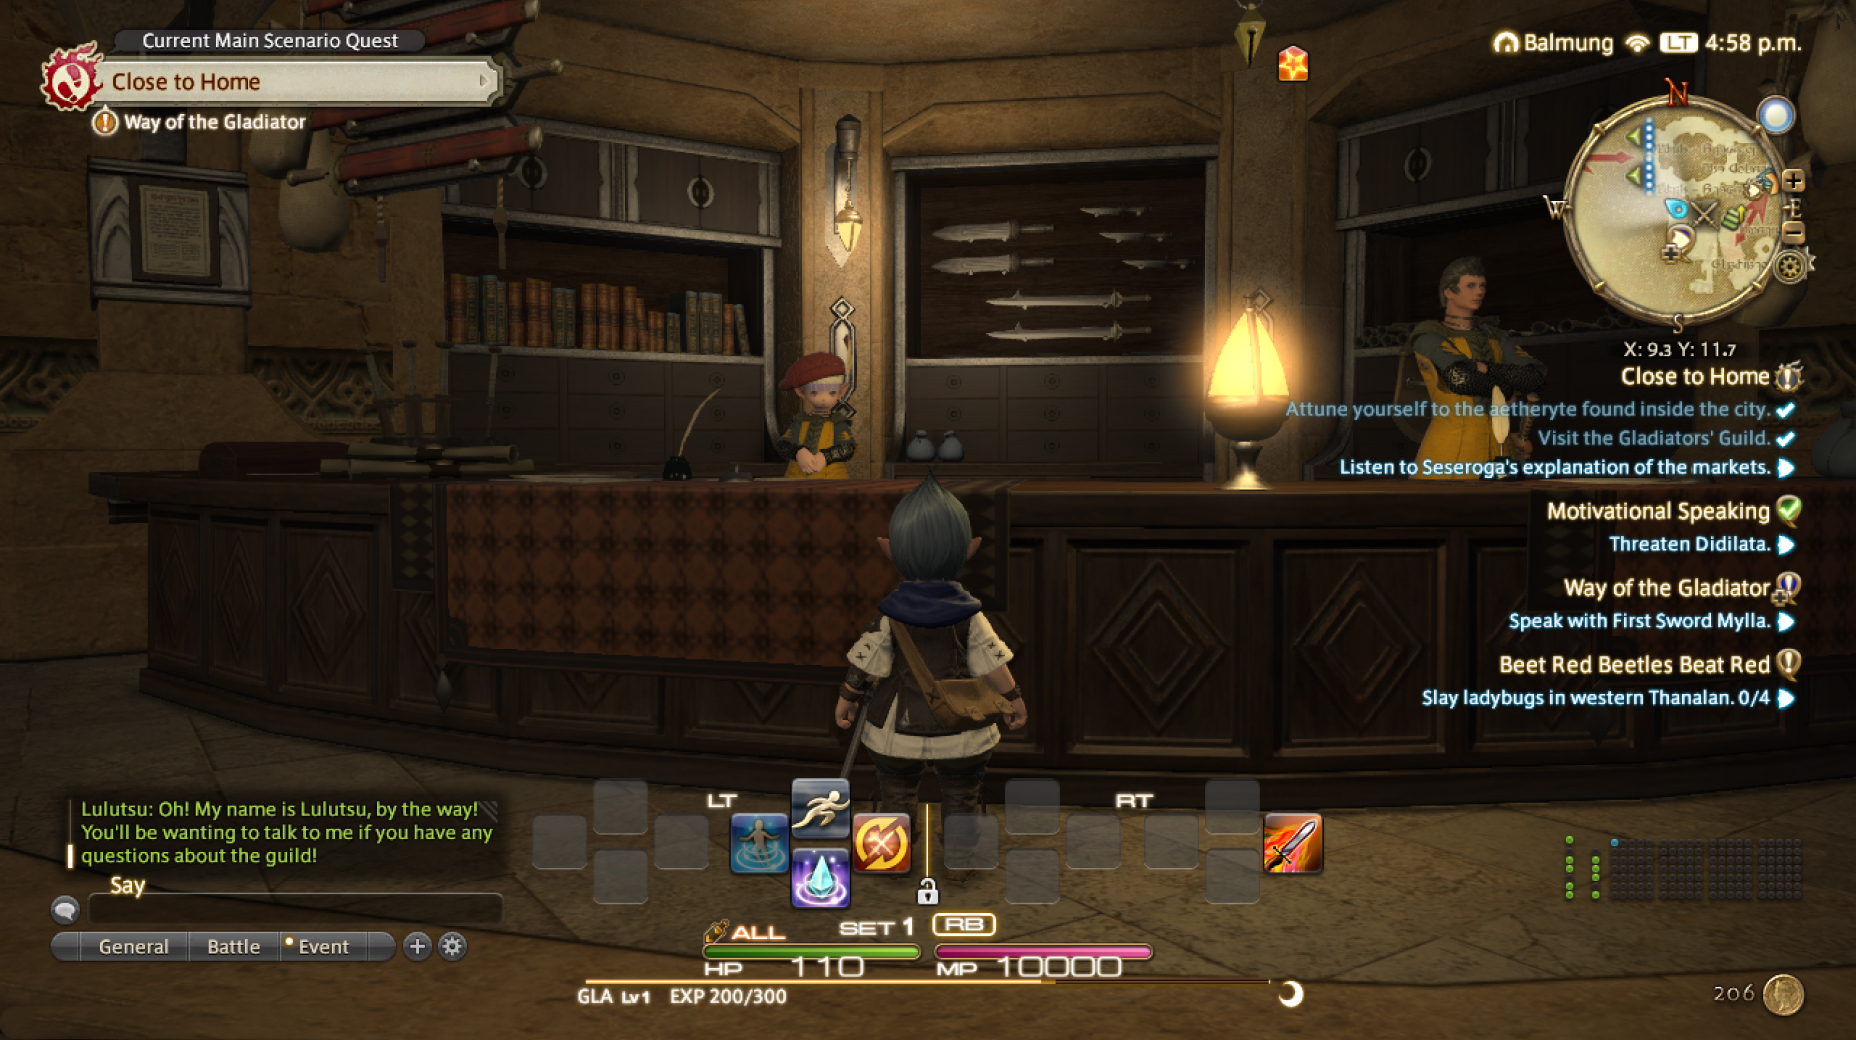
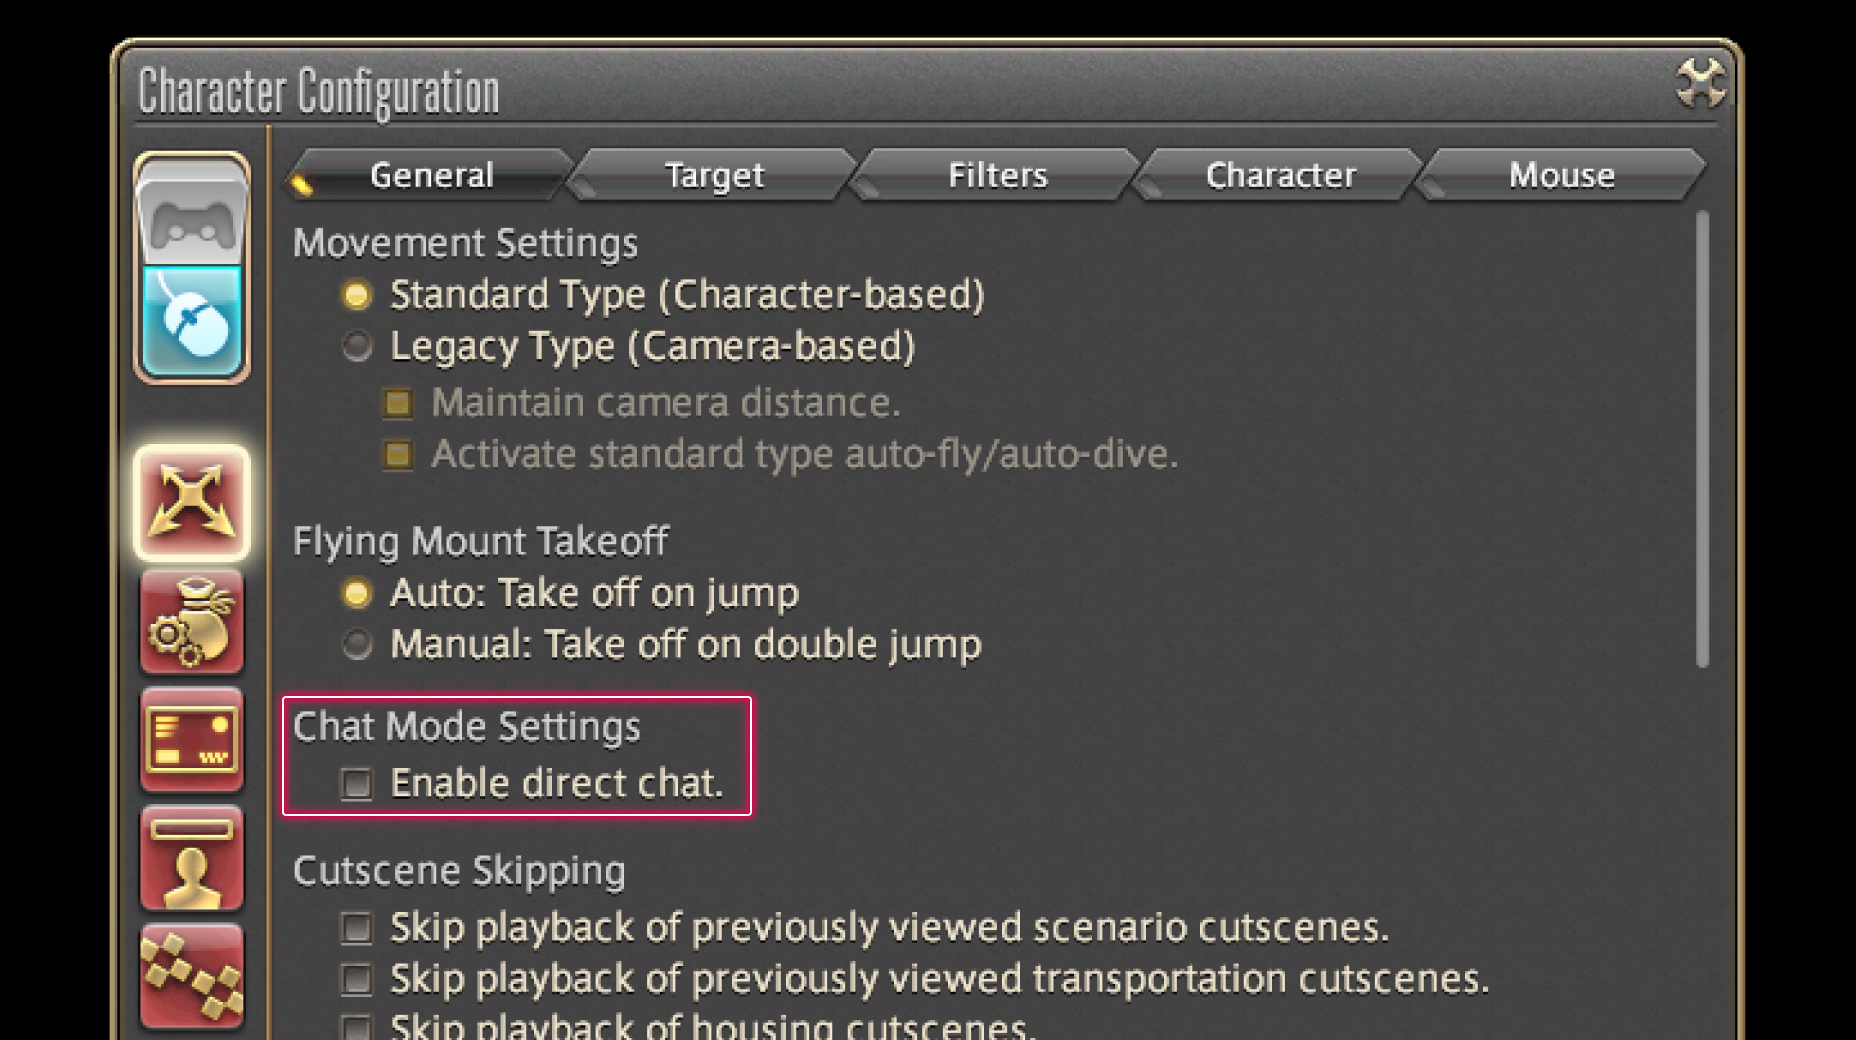
Use the default settings…
Or try something creative!
The possibilities are endless!
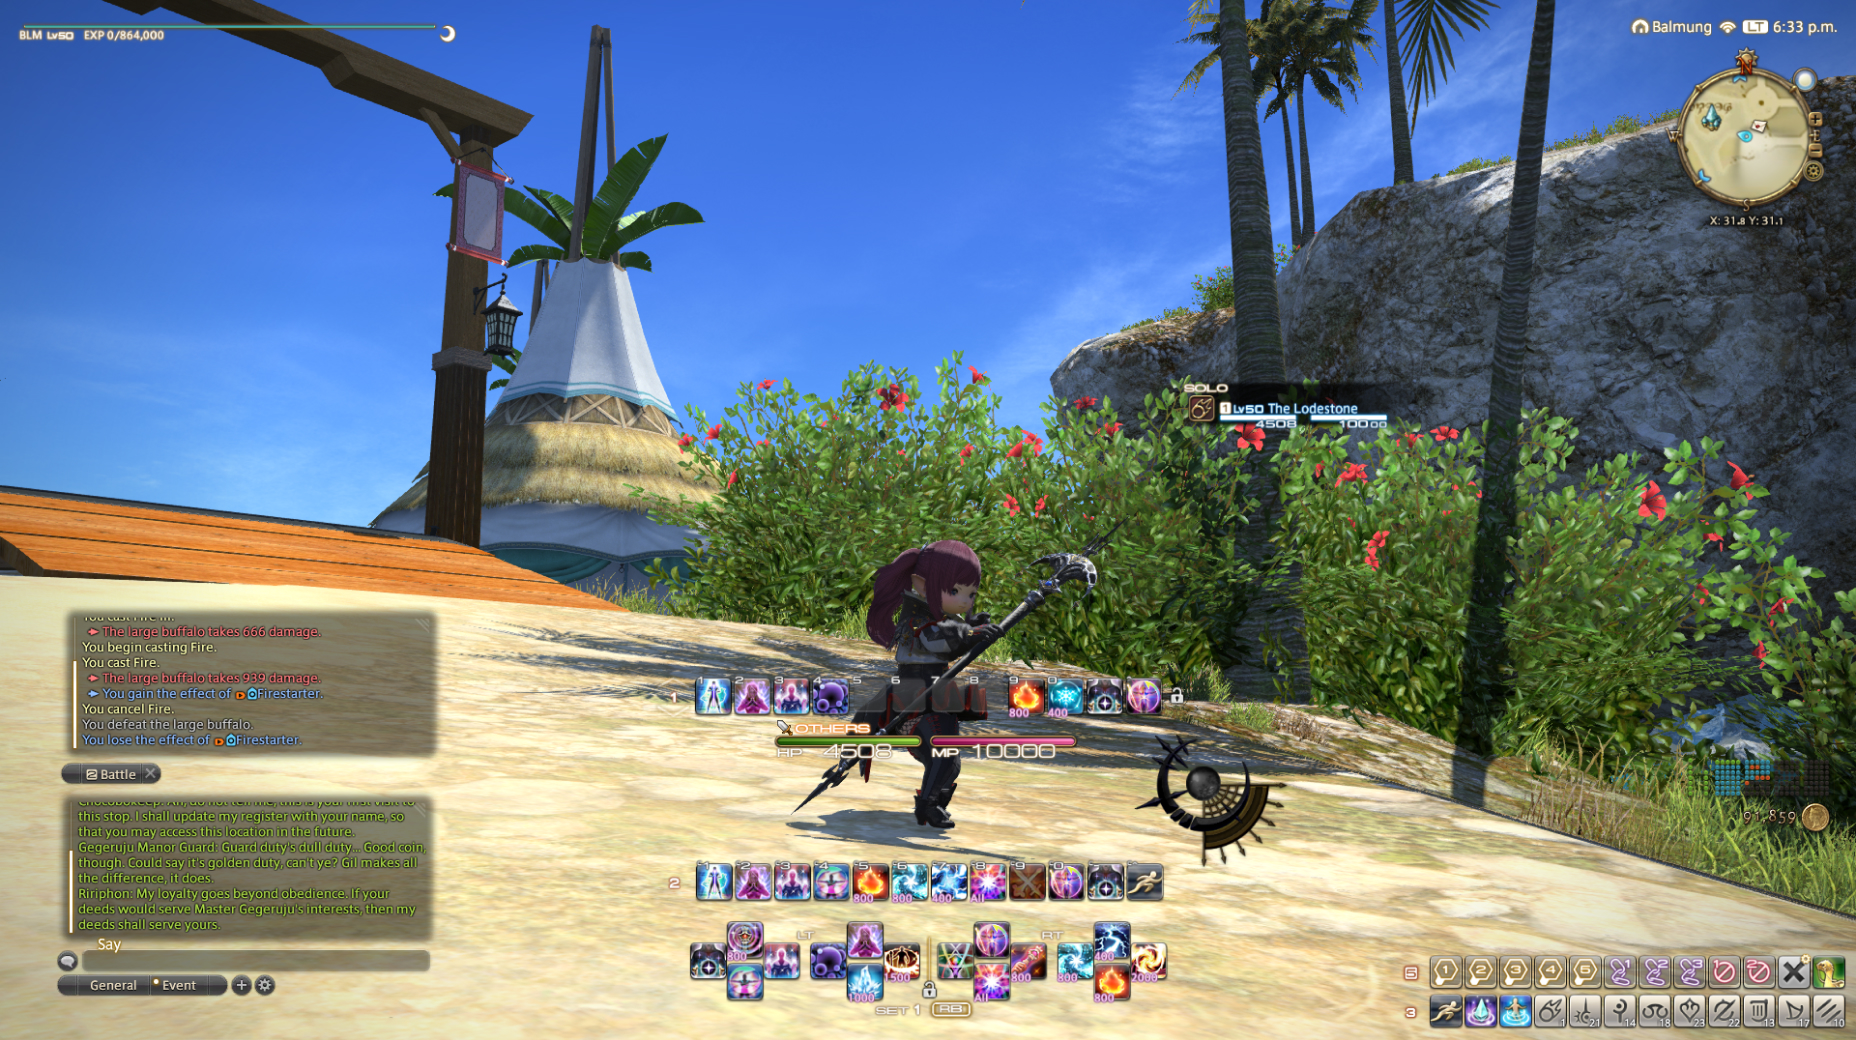
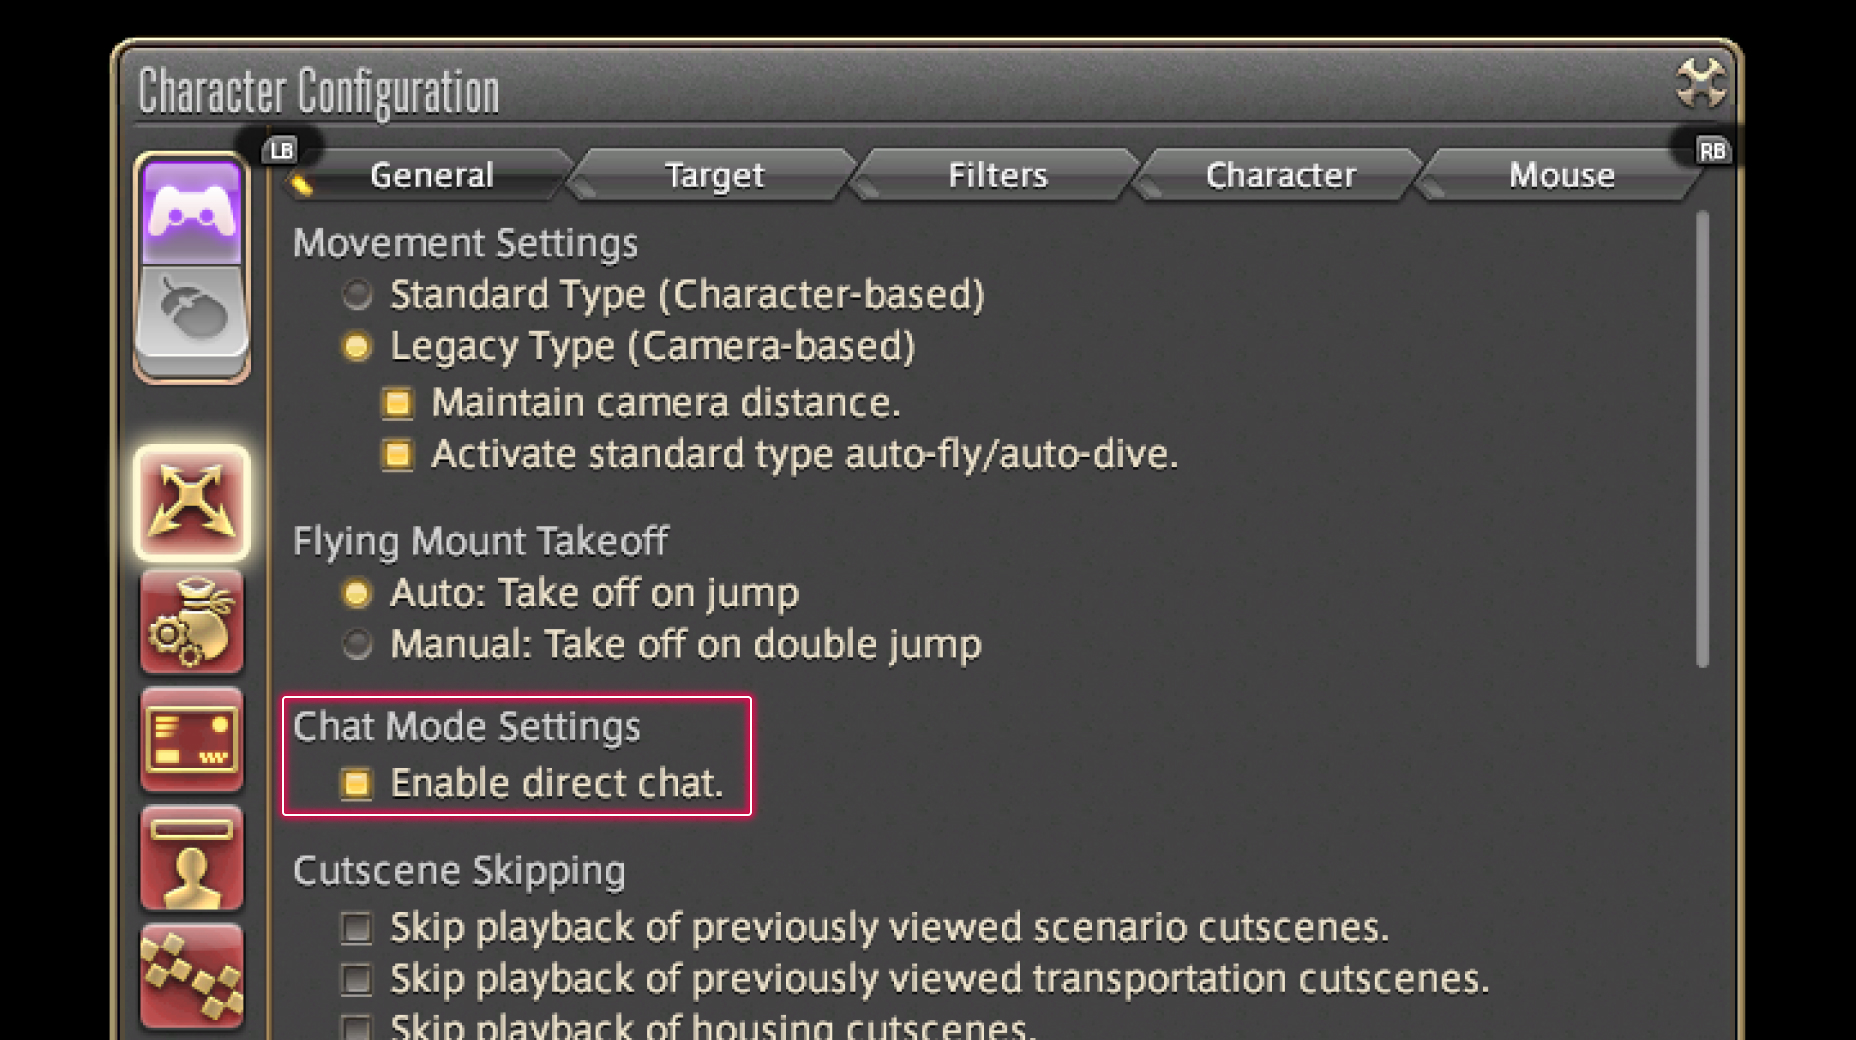
Use the default settings…
Or try something creative!
The possibilities are endless!

1. Enter a term to search.
2. Find a topic and review its contents.
3. Try out what you've learned!
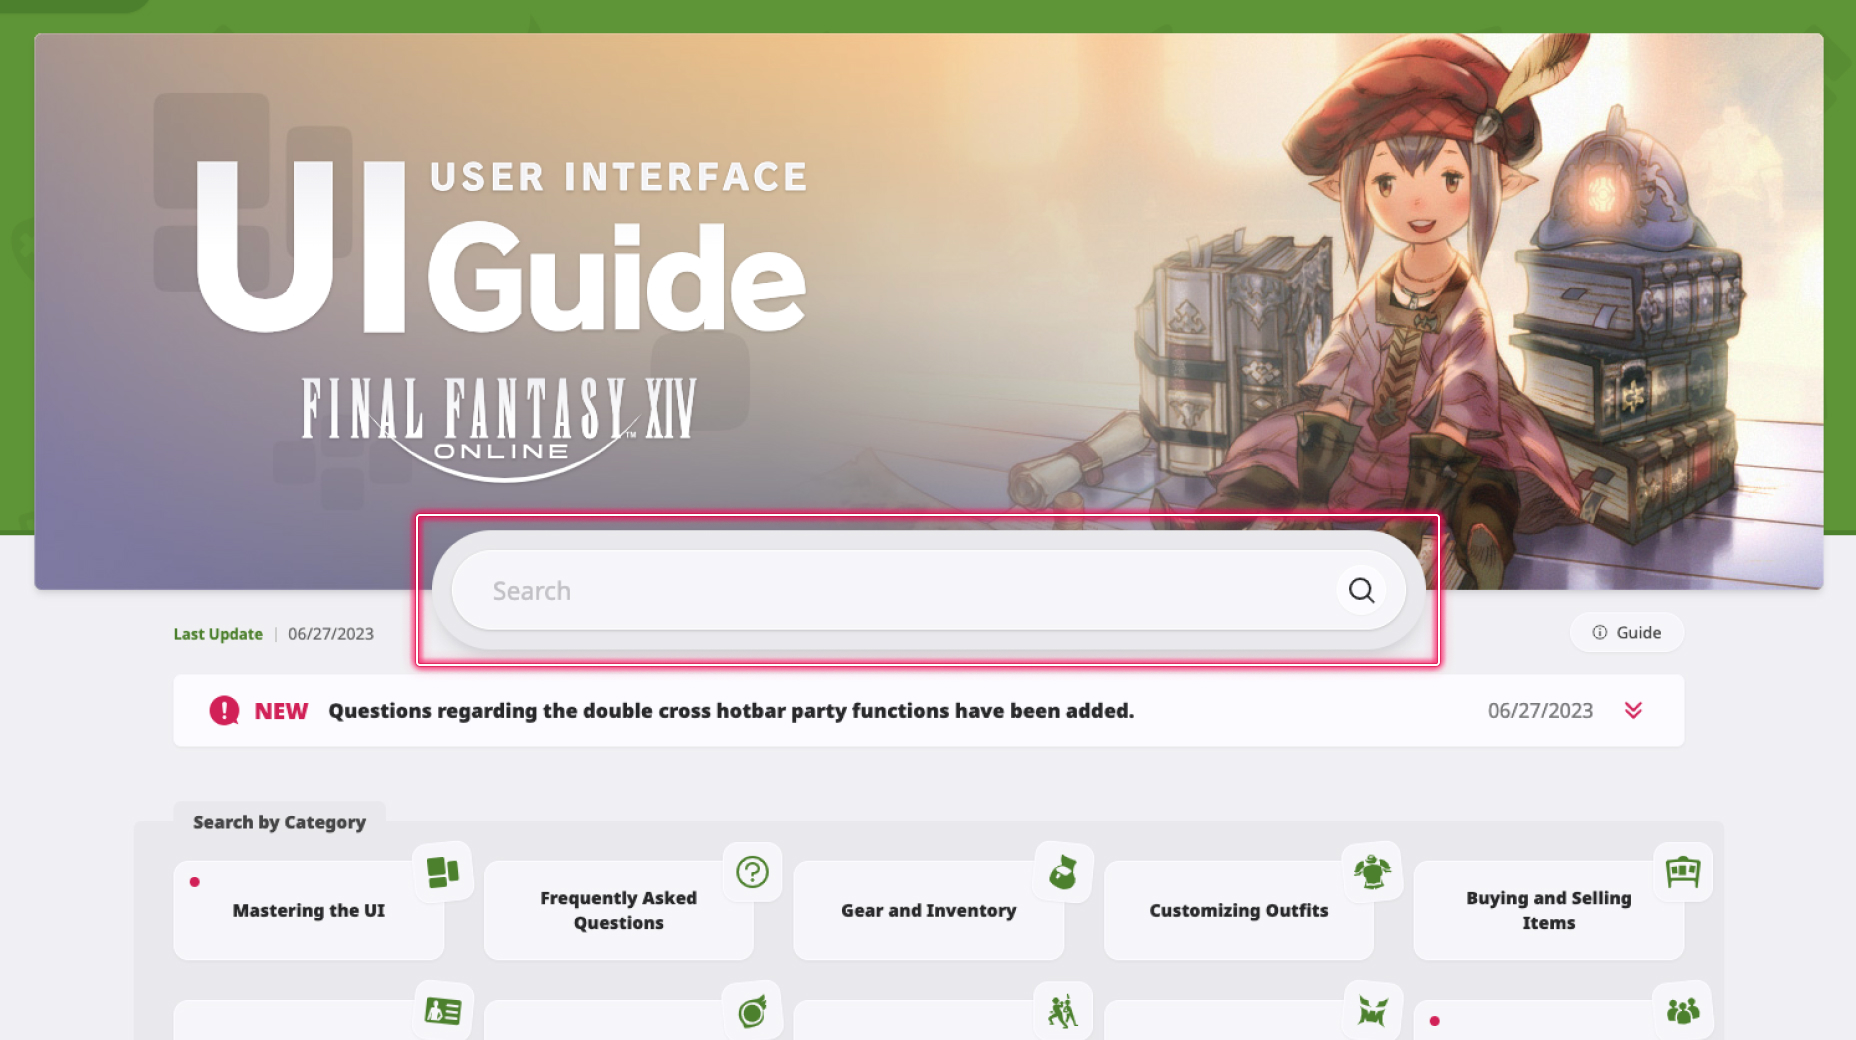
1. Enter a term to search.

2. Find a topic and review its contents.
3. Try out what you've learned!
(You can view this screen at any time from the guide icon.)
For FAQs about the control scheme, peripherals, your chocobo, etc., please go here.